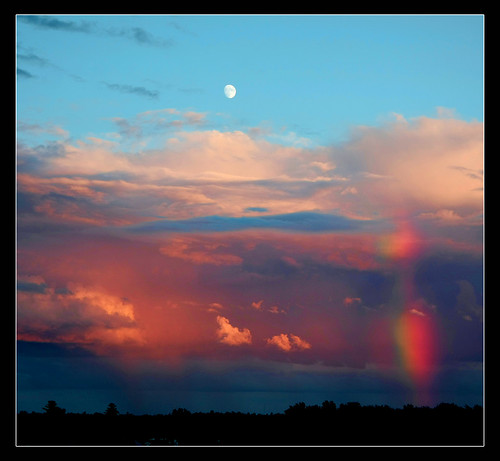
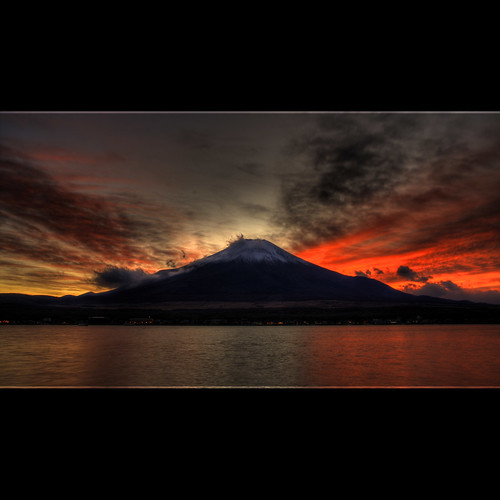
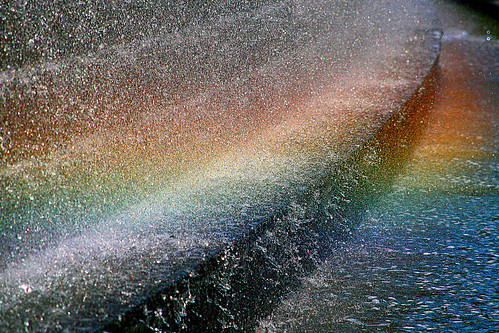
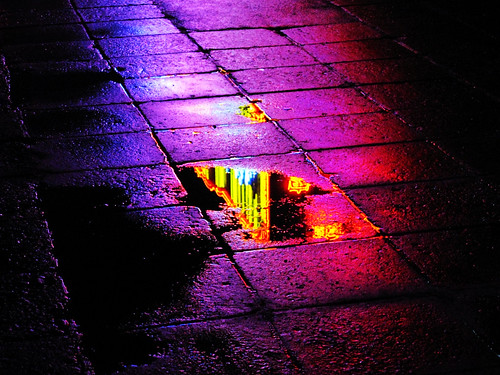
Today is a special day, and I want to share happy things! You can listen to the Judy Garland version while browsing this blog, but not the dead hawaiian guy's version please...
version française
Description
The lizard filters the best of photography for you! Follow it on #photolizard or with rss
Monday, January 31, 2011
Sunday, January 30, 2011
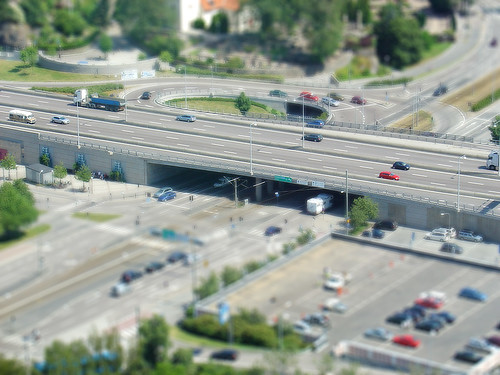
Miniature like photography
When it comes to pictures, everything is possible, either at capture time or at postprocessing time.
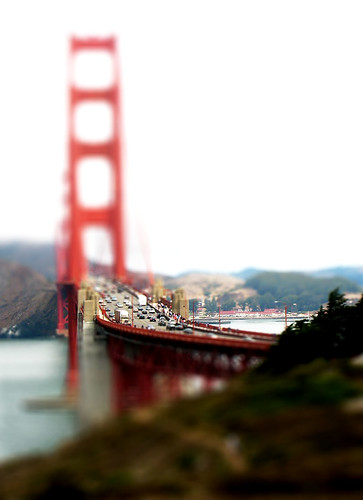
There is an effect that consists in making a regular-size scene look like a miniature scale scene. Most of the time it is referred to as tilt-shift photography, but actually tilt shift is not limited to miniature-like photography. You can get this effect either with a lens that tilts (change the angle between lens and camera) and shifts (change the position of the lens without changing the angle), or with a postprocessing operation (after the photo was taken). It's really fun!
If you want to experiment, you can use photoshop, use an iPhone application like tiltshift generator (there is an application for that) or an online app (I believe camera+ does it too).
Check out these creative commons photos.
version française
Saturday, January 29, 2011
A word about white balance
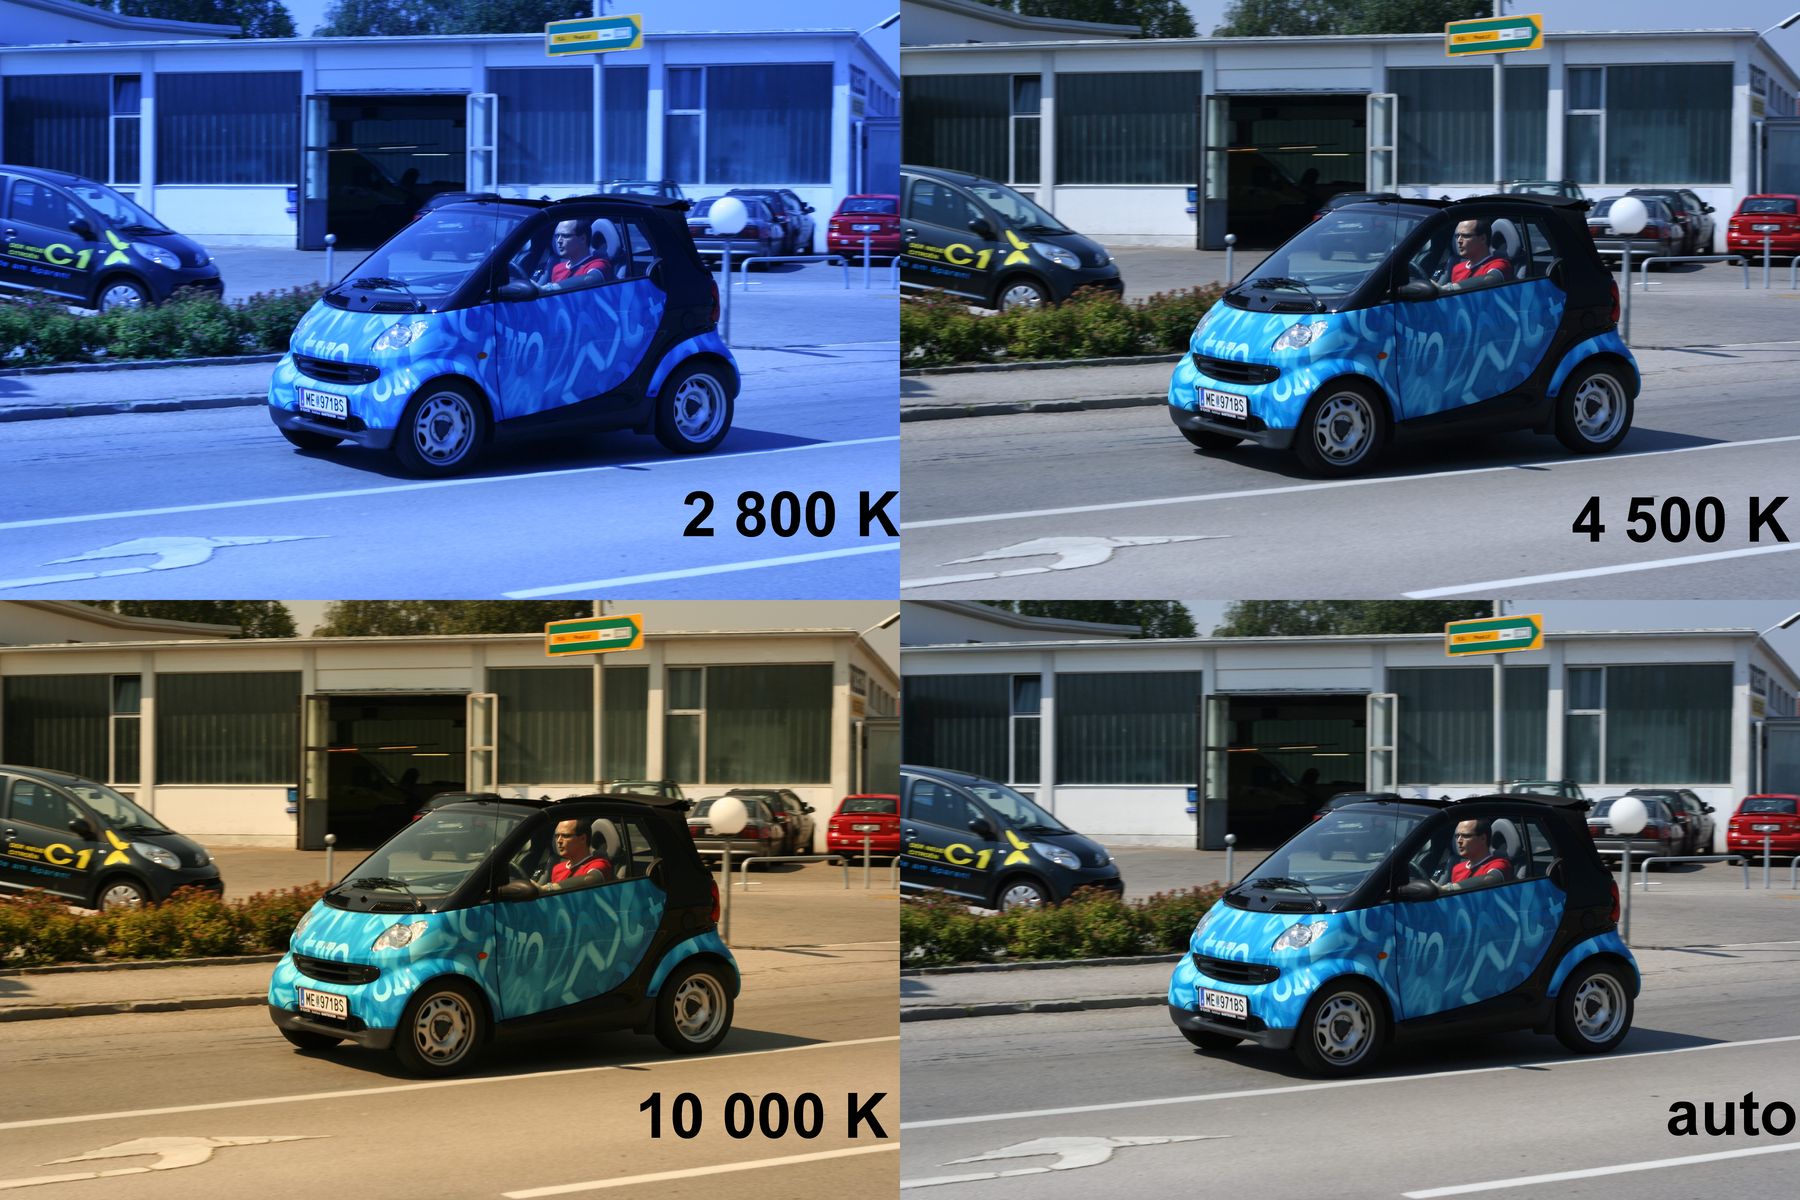
You may have bought yourself the best digital camera in the world, yet if you don't understand white balance, some pictures might result in bluish people, redish colors, in other words "wrong" colors. I am sure you have seen pictures like this.
What happens? Why does your camera renders pictures this way?
First, the lighting. All lights do not have the same color: we call that the "temperature". For example, an incandescent light bulb usually spreads a warm light. A candle burns with an even warmer light. Although human eyes may still recognize the "true" colors, the lighting changes the way colors are seen, and cameras may not render a scene the way you felt it.
Second source of errors is the influence of surrounding colors. Take a neutral grey pair of jeans. Wear them with a blue shirt, and blue shoes. Ask a friend what color are your pants. Come back a few days later (after you washed it) with the same pair of jeans, but wear red clothes. Ask the same friend what color your pants are. They might be good and recognize the pants, but they might see a different colors of pants!
There are other settings. Depending on the scene's light, you can select presets to fit with it. Most common presets inclue Tungstene, Fluorescent, Daylight, Flash, Cloudy, Shade. All these settings represents different situations with different temperature of lighting.
Some cameras allow more accurate settings by letting you choose the temperature directly. I don't want to go to far in the details, I let you visit other articles for precisions (see end of this note) on temperatures. Just know candle light is about 1000K to 2000K and shade can go up to 9000K to 10 000K.
Another interesting option is custom white balance. When present, this setting lets you give a sample of a neutral color, to be used by your camera as a reference. This is the most accurate possibility, if your reference is good.
I don't know how it works on all cameras, but on my Canon 500D, I take a picture, display it on the screen, go in the menu and select custom white balance. As easy as that. The only difficulty is that your reference photo should be taken with same lighting condition as your subject.
Last chance to set a correct white balance is by processing your RAW. Yes, you need to take photos in RAW format (you should always do!). All good software which handle RAW files can change the white balance of the picture. I find it impressive to be able to do that after the photo was taken!
version française
What happens? Why does your camera renders pictures this way?
White Balance
White Balance is the adjustment that corrects colors seen by the camera so that white (or neutral colors) is actually rendered white. This sounds trivial, why would white appear not white?Possible causes
I see two answers to that question.First, the lighting. All lights do not have the same color: we call that the "temperature". For example, an incandescent light bulb usually spreads a warm light. A candle burns with an even warmer light. Although human eyes may still recognize the "true" colors, the lighting changes the way colors are seen, and cameras may not render a scene the way you felt it.
Second source of errors is the influence of surrounding colors. Take a neutral grey pair of jeans. Wear them with a blue shirt, and blue shoes. Ask a friend what color are your pants. Come back a few days later (after you washed it) with the same pair of jeans, but wear red clothes. Ask the same friend what color your pants are. They might be good and recognize the pants, but they might see a different colors of pants!
How to adjust White Balance
Fortunately, nowadays cameras are smart, although they cannot compete with our eyes. By default, cameras are set to auto white balance, which means they handle the white balance by themselves, figuring it out from what they "see". In natural light (sun, moon), most photos should be OK with this setting.There are other settings. Depending on the scene's light, you can select presets to fit with it. Most common presets inclue Tungstene, Fluorescent, Daylight, Flash, Cloudy, Shade. All these settings represents different situations with different temperature of lighting.
Some cameras allow more accurate settings by letting you choose the temperature directly. I don't want to go to far in the details, I let you visit other articles for precisions (see end of this note) on temperatures. Just know candle light is about 1000K to 2000K and shade can go up to 9000K to 10 000K.
Another interesting option is custom white balance. When present, this setting lets you give a sample of a neutral color, to be used by your camera as a reference. This is the most accurate possibility, if your reference is good.
I don't know how it works on all cameras, but on my Canon 500D, I take a picture, display it on the screen, go in the menu and select custom white balance. As easy as that. The only difficulty is that your reference photo should be taken with same lighting condition as your subject.
Last chance to set a correct white balance is by processing your RAW. Yes, you need to take photos in RAW format (you should always do!). All good software which handle RAW files can change the white balance of the picture. I find it impressive to be able to do that after the photo was taken!
Remaining problem
There is a remaining problem. What happens when you want to take a picture of a scene with different light sources? For instance if you take a scene with a subject on the foreground enlightened with an artificial light, and a background which has a natural light? A problem, that's what! With your camera, it is not possible to correctly render all parts of the photo, you need to choose which part you want to focus on (or if a camera can do both, please let me know!).More
These articles will tell you more about white balance:- Color balance on Wikipedia
- Introduction to white balance on digital photography school
- Tutorials: white balance on cambridgeincolors
version française
Friday, January 28, 2011
Thursday, January 27, 2011
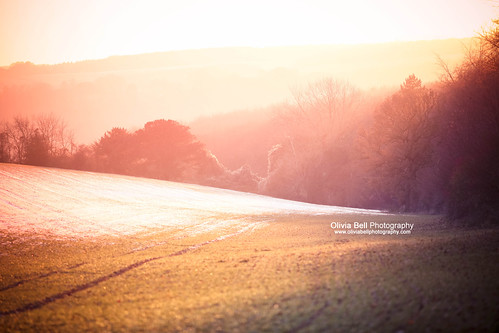
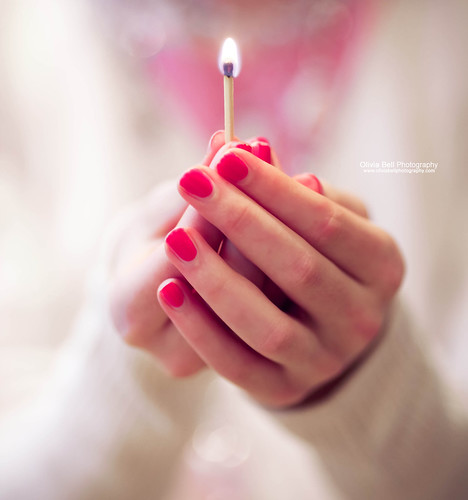
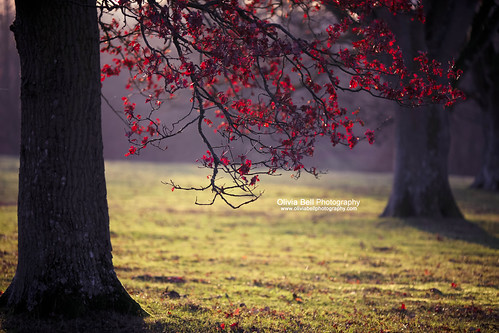
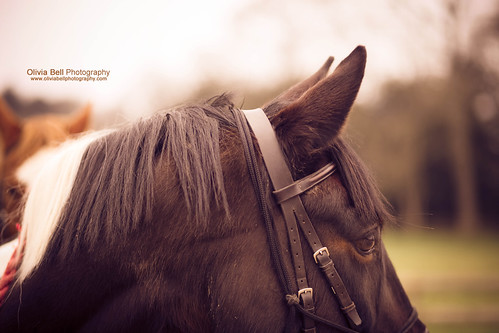
365: Olivia Bell
When I have to face a challenge, I always feel the first half is the hardest part. I am sure Olivia Bell must feel relieved to get to the second half of her 365 project.
Taking a photo a day is challenging, but then there is processing and uploading, which includes finding a title and writing a description. It is quite a tough project to fit in, no wonder she hesitated to start it.
Half way is a good time to take a quick scan behind and see how it looks. Olivia Bell told me she feels her project has strengthened her photography, made her eyes see more than ever before. You can have a hint on my point of view by checking the numbers on the photos I selected: they are mainly recent pictures.
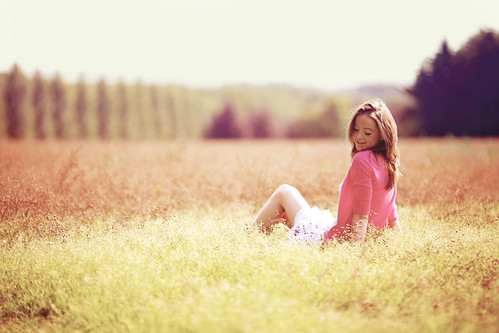
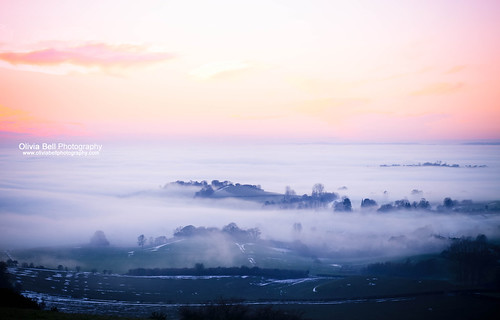
I wanted to talk about this project because it has something different from the other 365 I wrote about. It is both in the photographs and the processing done: it has a girly touch!
Olivia Bell (facebook | @oliviabell) - 365 project
version française
Wednesday, January 26, 2011
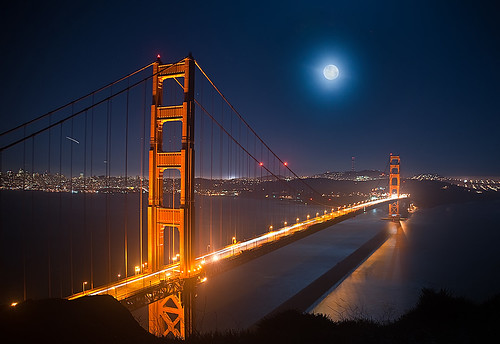
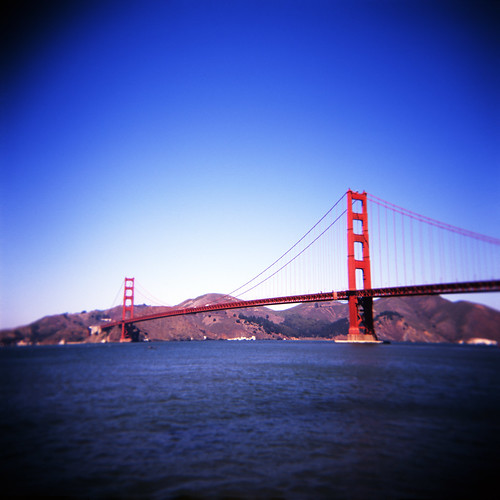
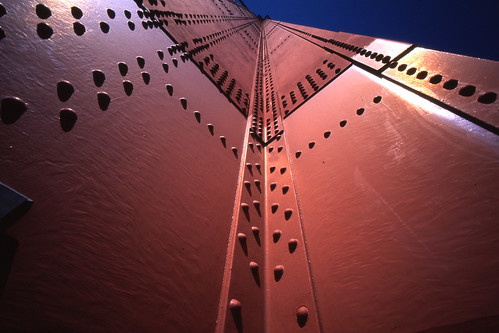
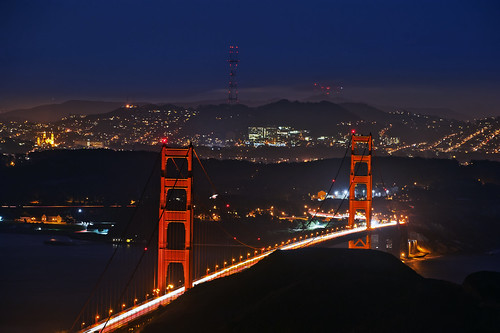
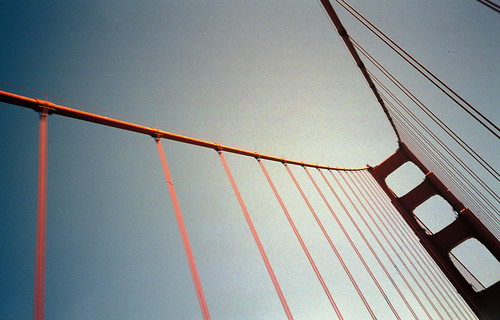
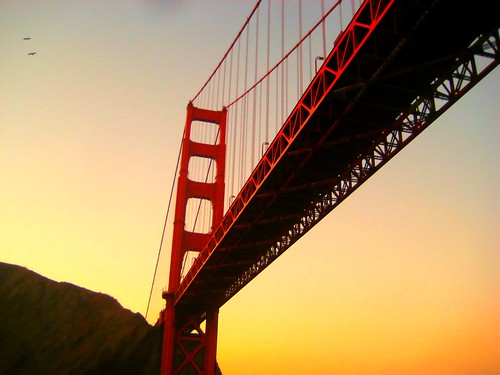
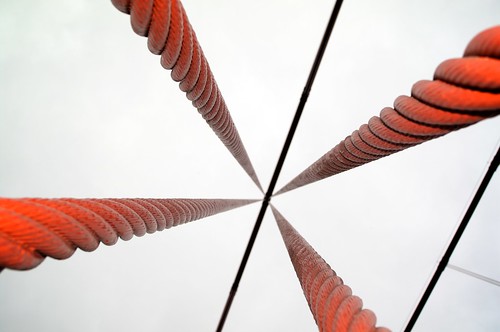
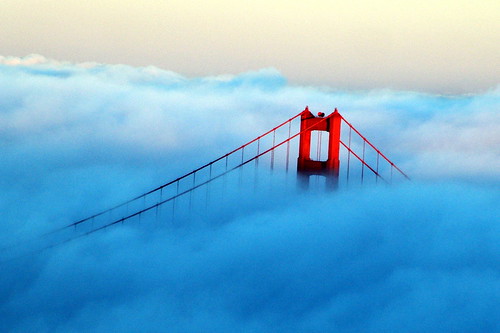
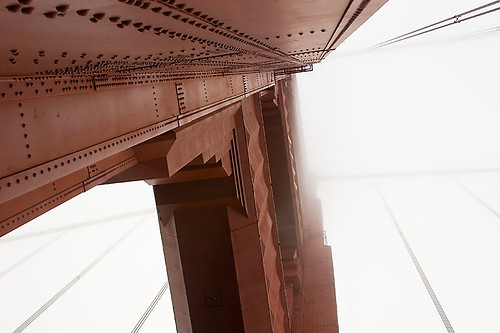
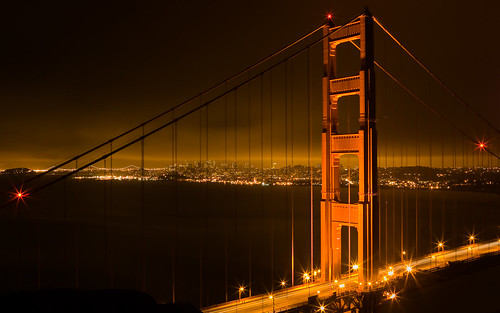
24 Gorgeous photos of Golden Gate Bridge
Subscribe to:
Comments (Atom)
